


Өнімге кіріспе:
Өнім параметрлері:
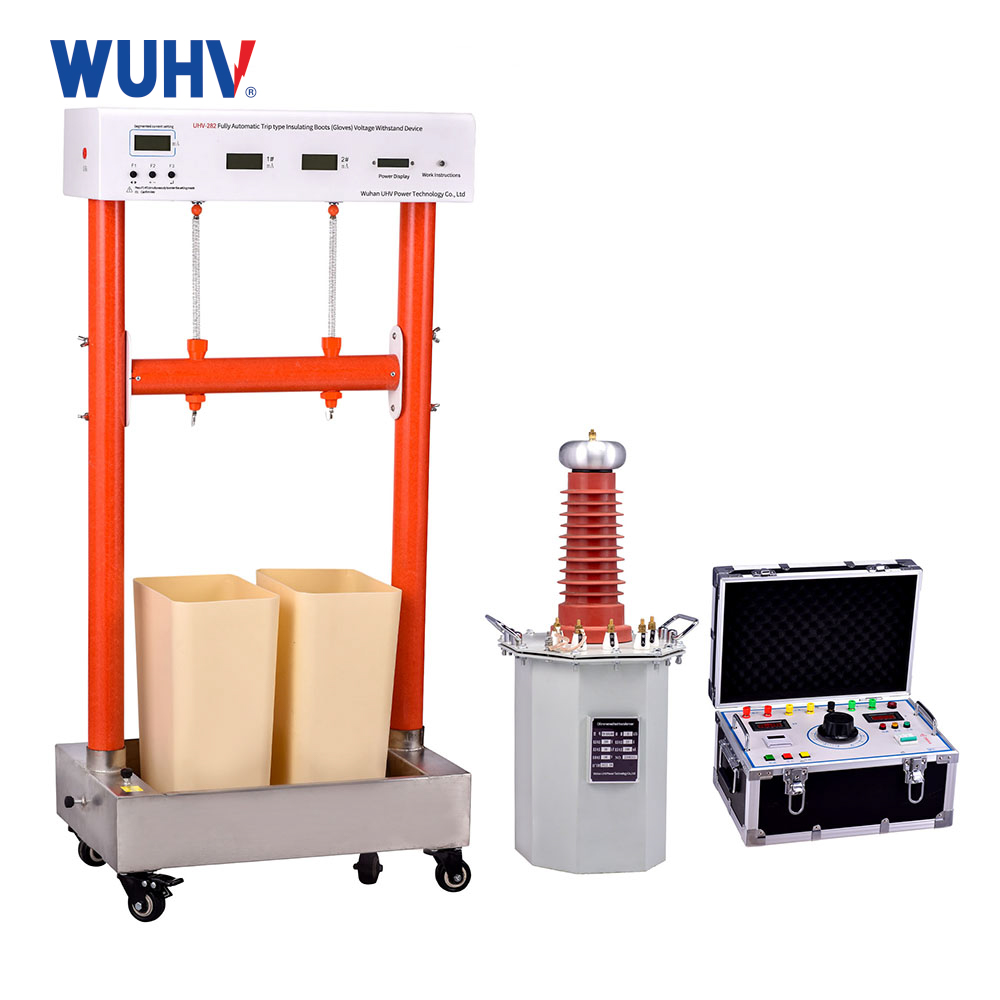
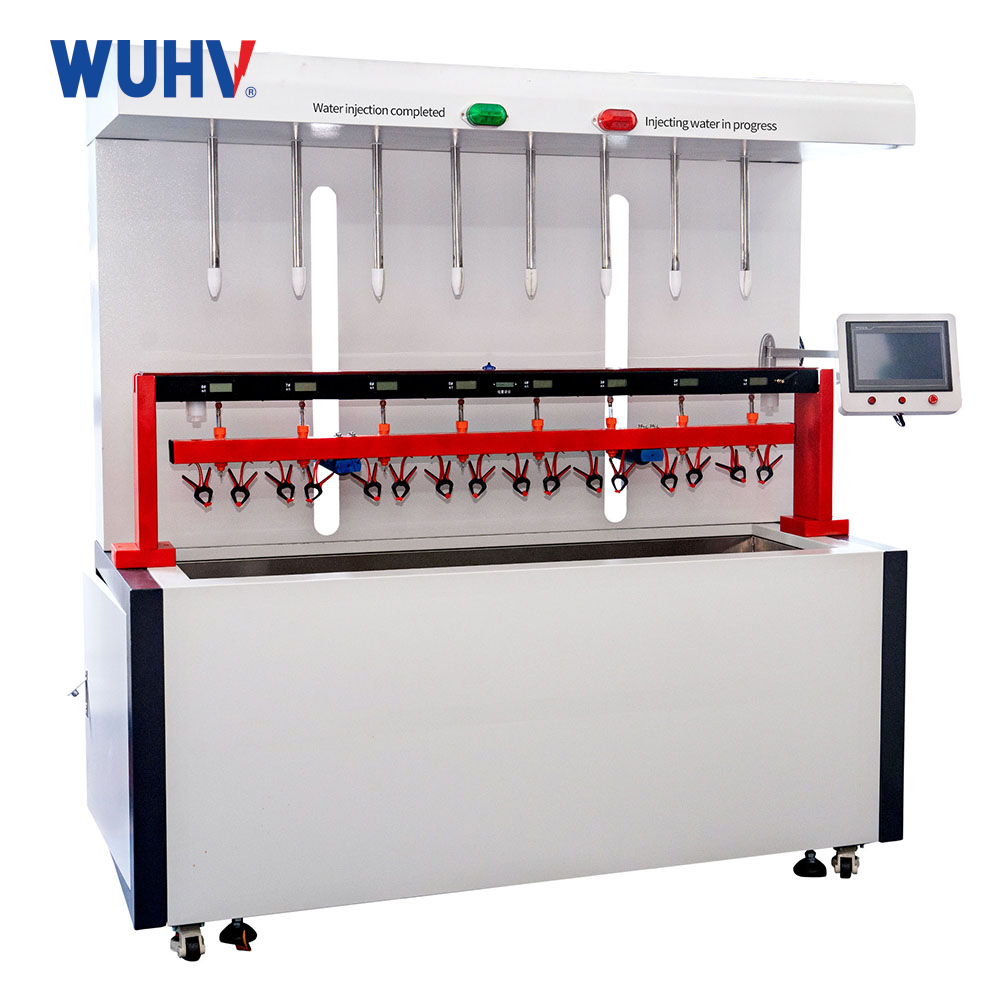
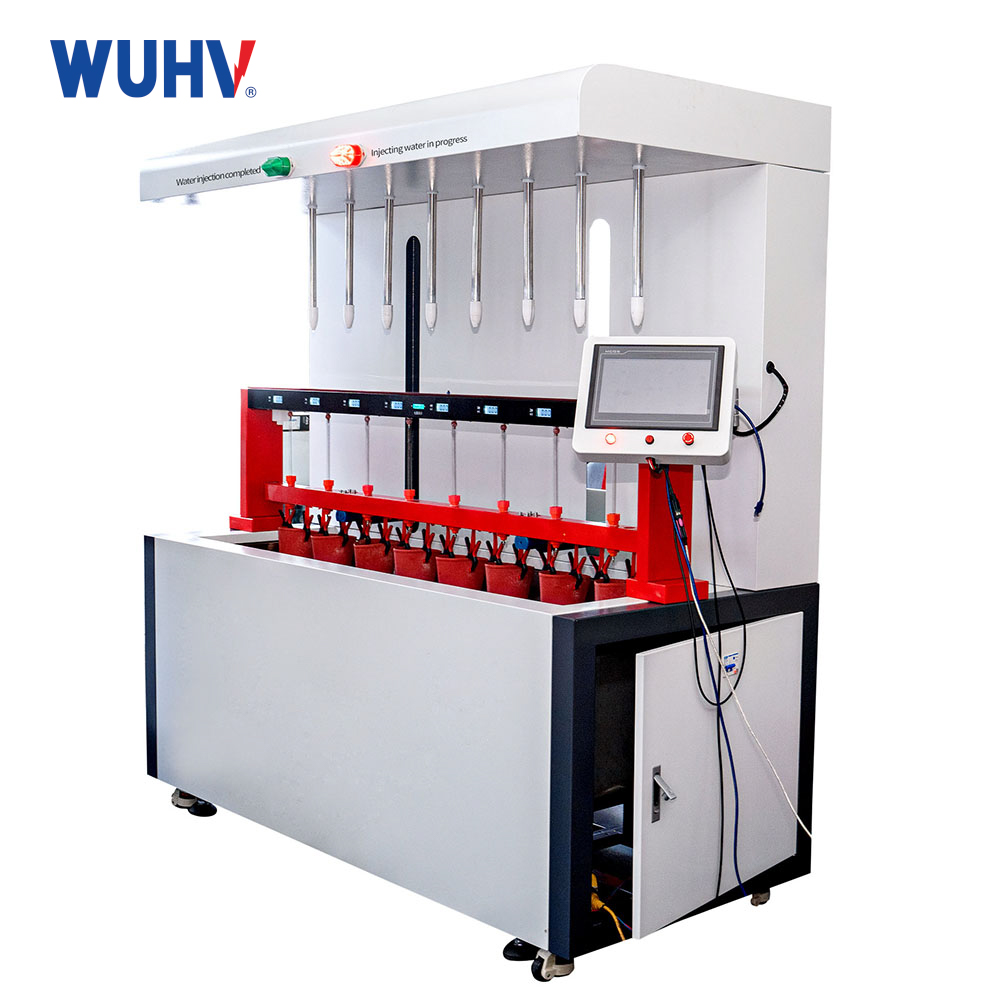
Оқшауланған аяқ киім мен қолғап сияқты қауіпсіздік құралдарына арналған оқшаулауға төзімділік сынағының ақылды нұсқасы
Техникалық параметрлер:
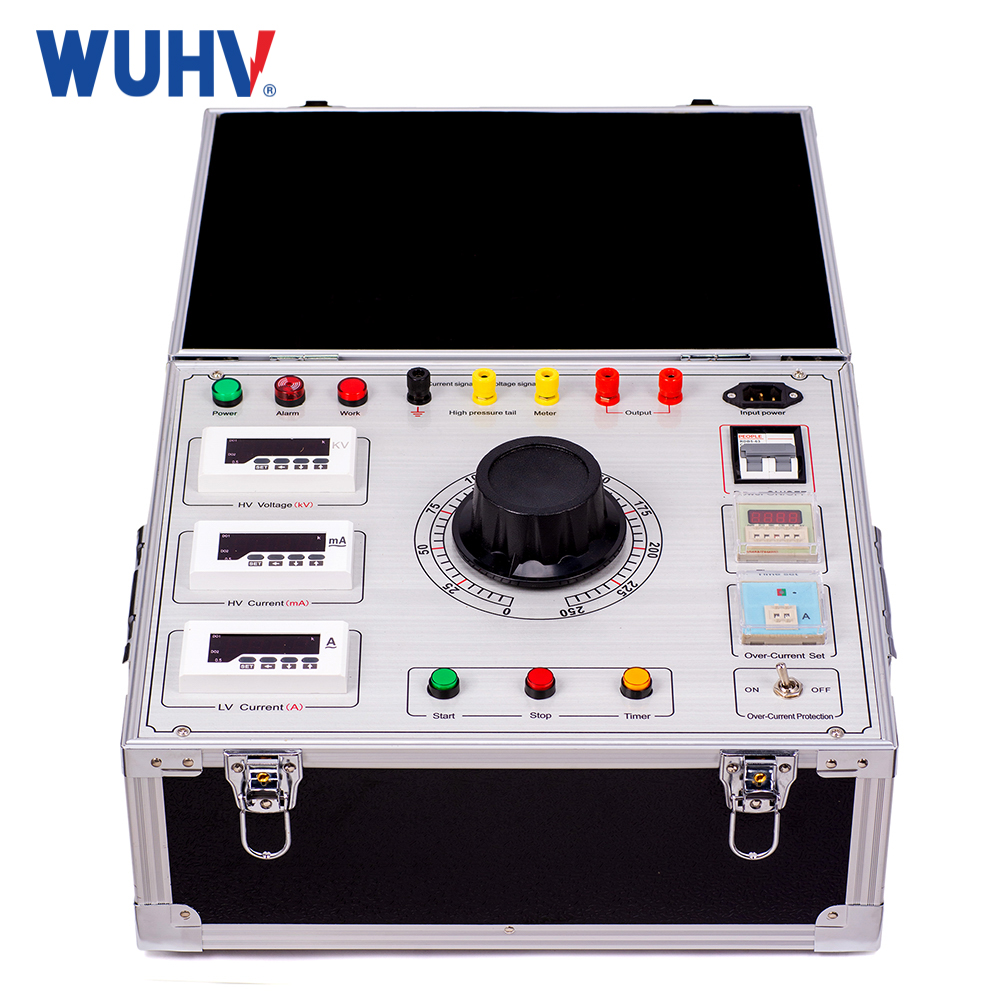
Құрылғының шығыс кернеуінің диапазоны | Айнымалы ток 0~50 кВ (0~250 В) |
Құрылғының номиналды шығыс қуаты | 5кВА |
Құрылғы кіріс тогы | 0~20A |
Ағып кету тогын өлшеу диапазоны | 0~30.0 мА (0~50 мА теңшеуге болады) |
Ағып кету тогын өлшеу қатесі | 1%±3 сөз |
Ағып кету ток рұқсаты | 0,01 мА |
Кернеуді өлшеу қатесі | ≤1% көрсеткіш мәні ±0,1% диапазоны |
Ағымдағы өлшеу қателігі | ≤1% көрсеткіш мәні ±0,1% диапазоны |
Сандық дисплей уақыты | 0 ~ 999S |
Консольдің жалпы өлшемдері | 1300×940×860 мм3 |
Су айдау қондырғысының өлшемдері | 1900×950×1860мм3 |
Консоль салмағы | 50 кг |
Инъекция салмағы | 200 кг |
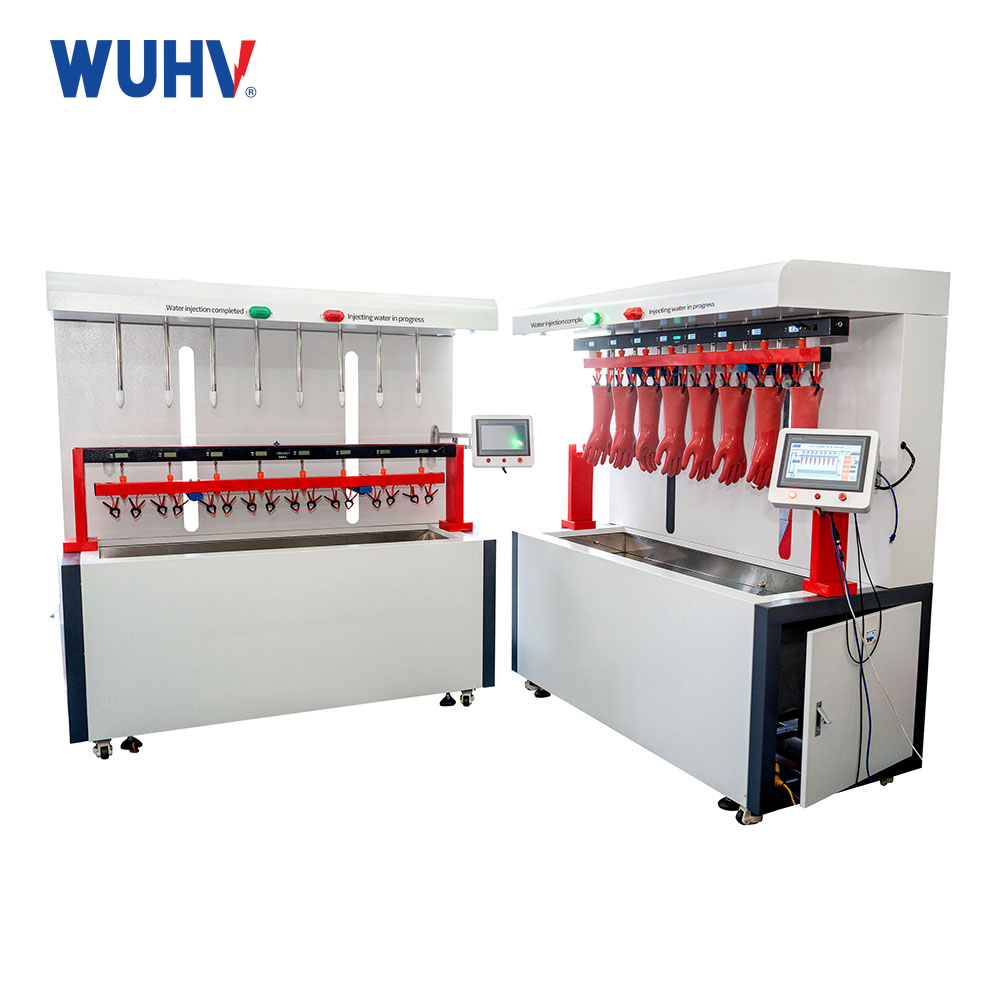
Су құю нұсқаулары:
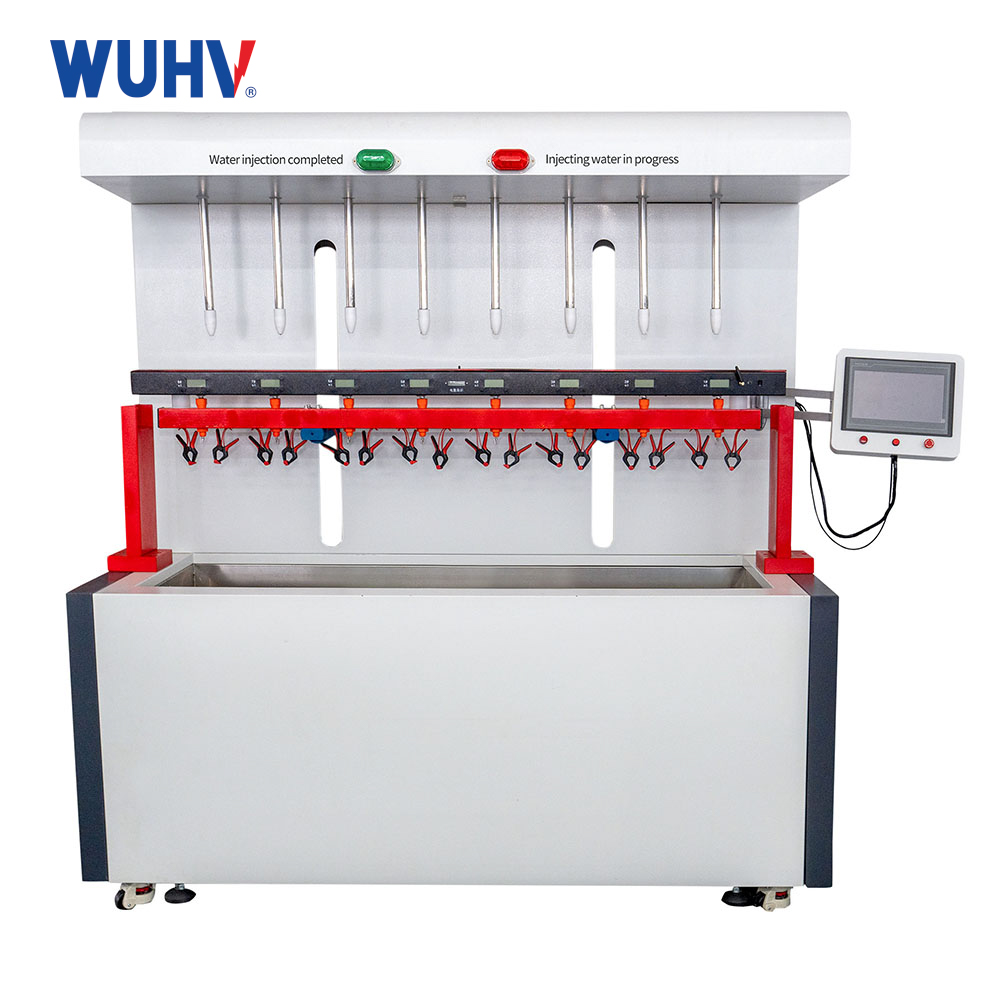
1.The test bench consists of two parts: an automatic water injection device and a testing machine device. The testing machine part is connected to the high-voltage connection and the shell part through insulation connection.
2.The water injection device includes a water pump, solenoid valve, and lifting motor. First, ground the test bench casing and connect it to an AC220V power supply. The test bench has an inlet and an outlet. The inlet is used to add water to the tank, and the outlet is used to drain the tank.
3.Connect the water pipe to the inlet, open the water valve to fill the water tank with water, and then close the water valve. Attention: Do not leave when filling the sink to prevent water from overflowing.
4.The device uses recycled water. When the power supply of the test bench is turned on, the power indicator light will light up and the system will be in standby mode. There are two buttons on the control panel in front of the test bench, namely the glove test button and the emergency stop button. When a test sample is installed on the water tank test stand, press the glove to test. The water injection device will descend and insert the water injection port into the test sample. Then, inject water into the test sample (only those with the test sample installed will be injected) until all injected water reaches the required water level for the test. The water injection device will automatically lift and return to its initial position, completing the water injection process.
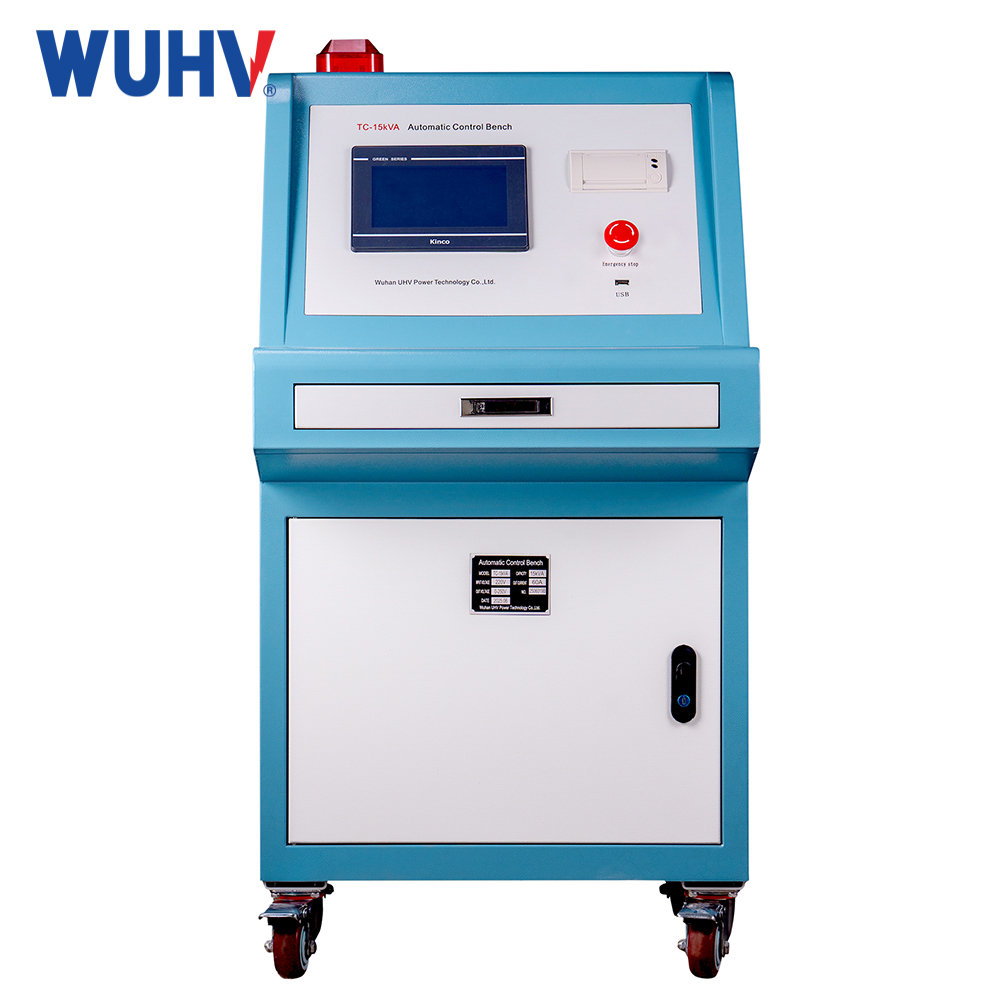
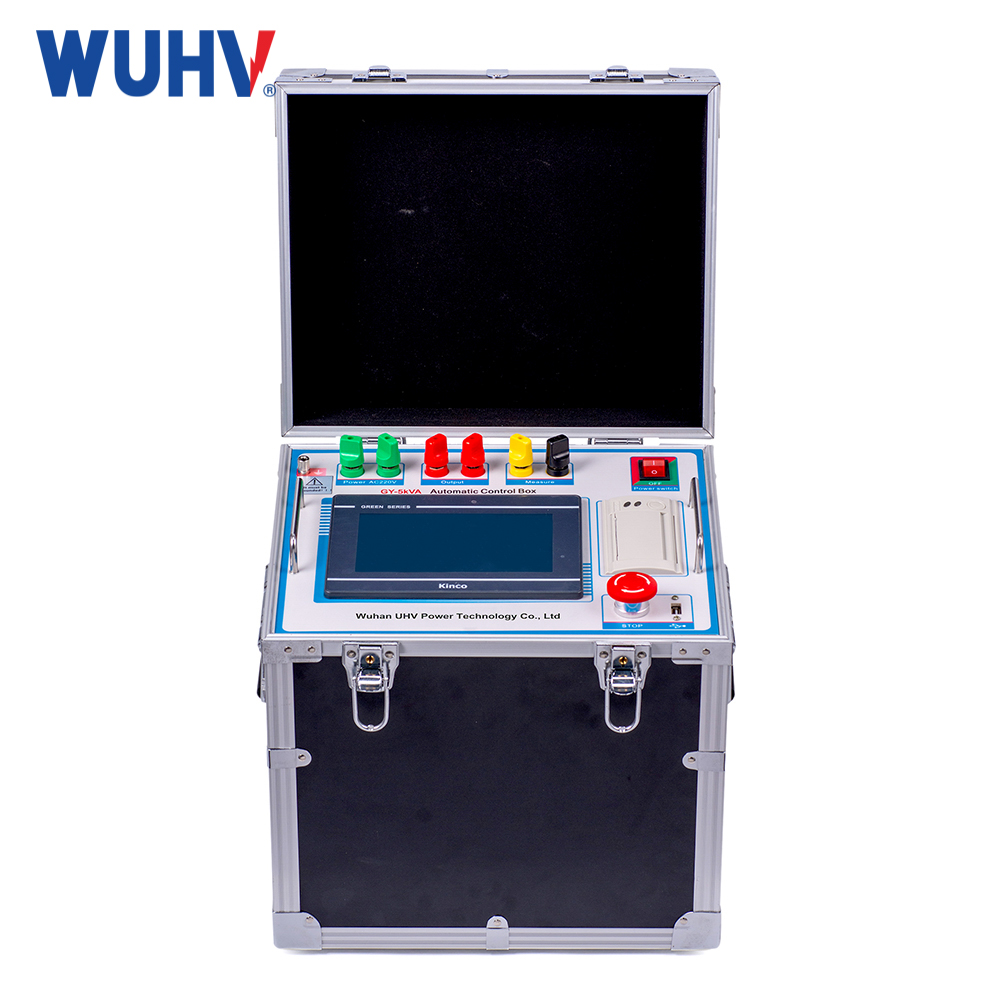
5.Adopting touch screen display and parameter settings.
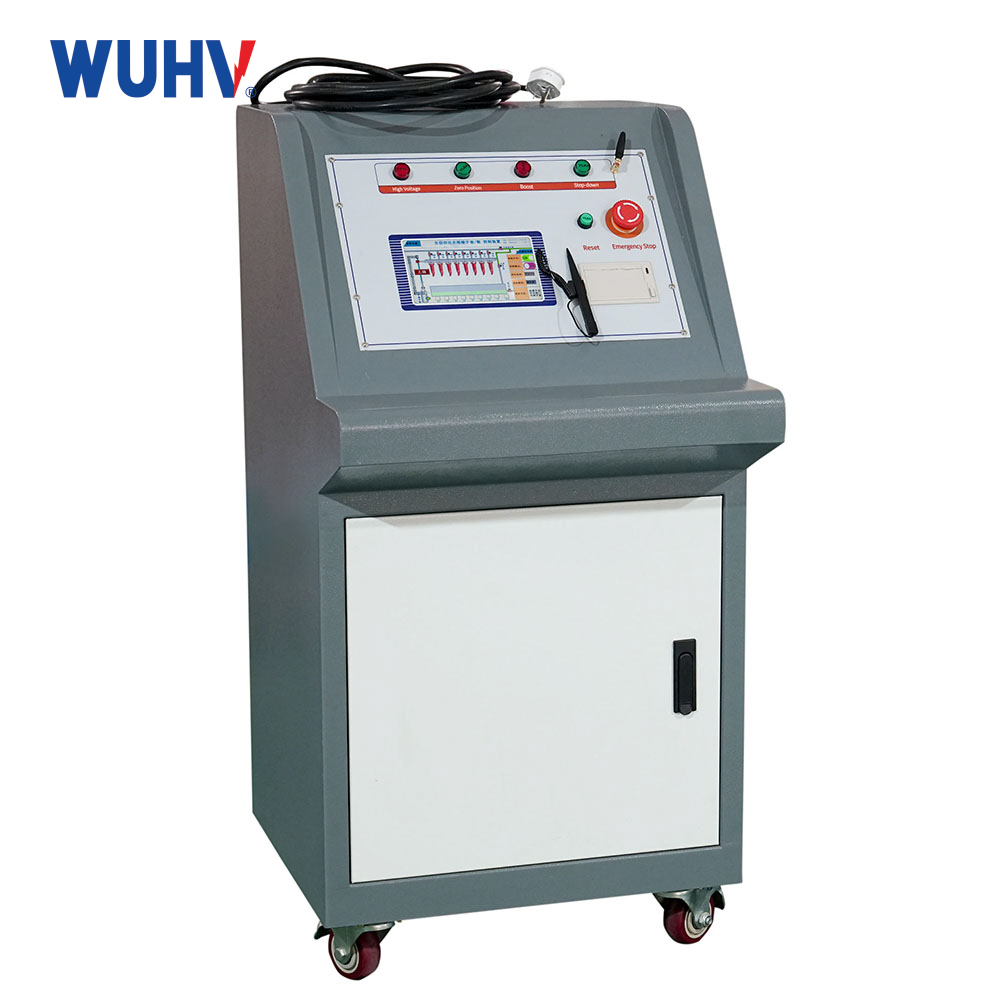
Charging instructions:
Жоғары вольтты сынақтан өткізбес бұрын сынақ машинасын зарядтау қажет. Зарядтағышты сынақ машинасының зарядтау портына салыңыз, батареяны зарядтау үшін 220 В қуат көзін қосыңыз, сонда «зарядтау» және «батарея кернеуі» индикаторлары жанады. Батарея деңгейі жоғарылай берген сайын, «батарея кернеуі» индикатор шамы бірінен соң бірі жанады. Батарея толық зарядталған кезде «толық зарядталған» индикатор шамы жанады. Әдетте, зарядтау 2-8 сағатты алады. Егер батарея ұзақ уақыт пайдаланылмаса, оны 1-2 ай сайын зарядтап, разрядтау керек.